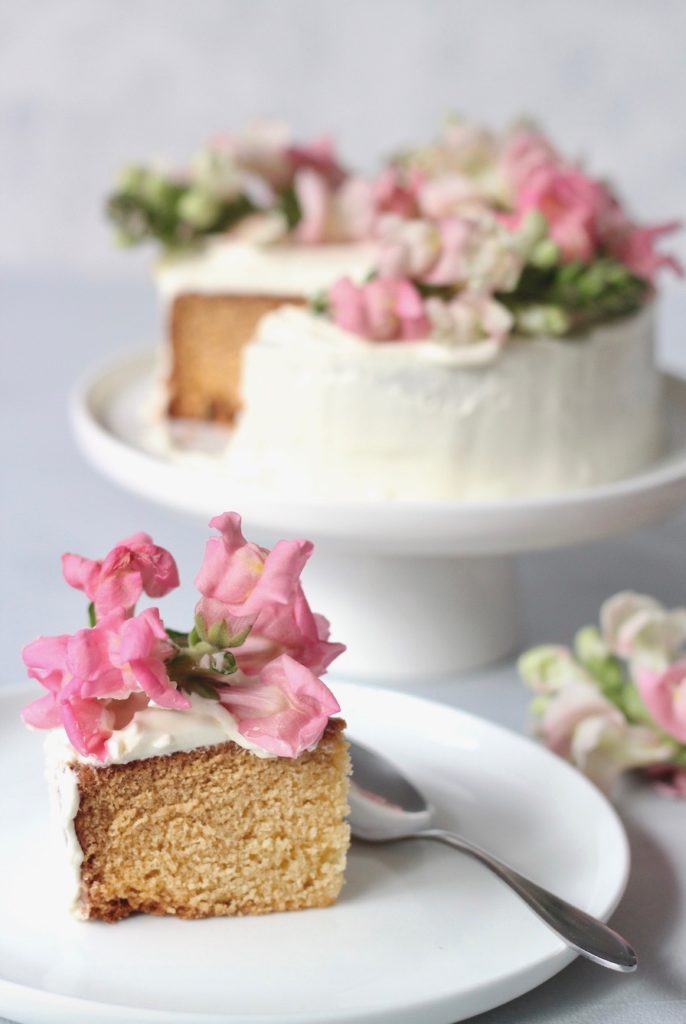
Smother this delightfully tender and moist vanilla butter cake with lashings of whipped cream. The cake is made only with pantry staples and lasts several days without drying out.
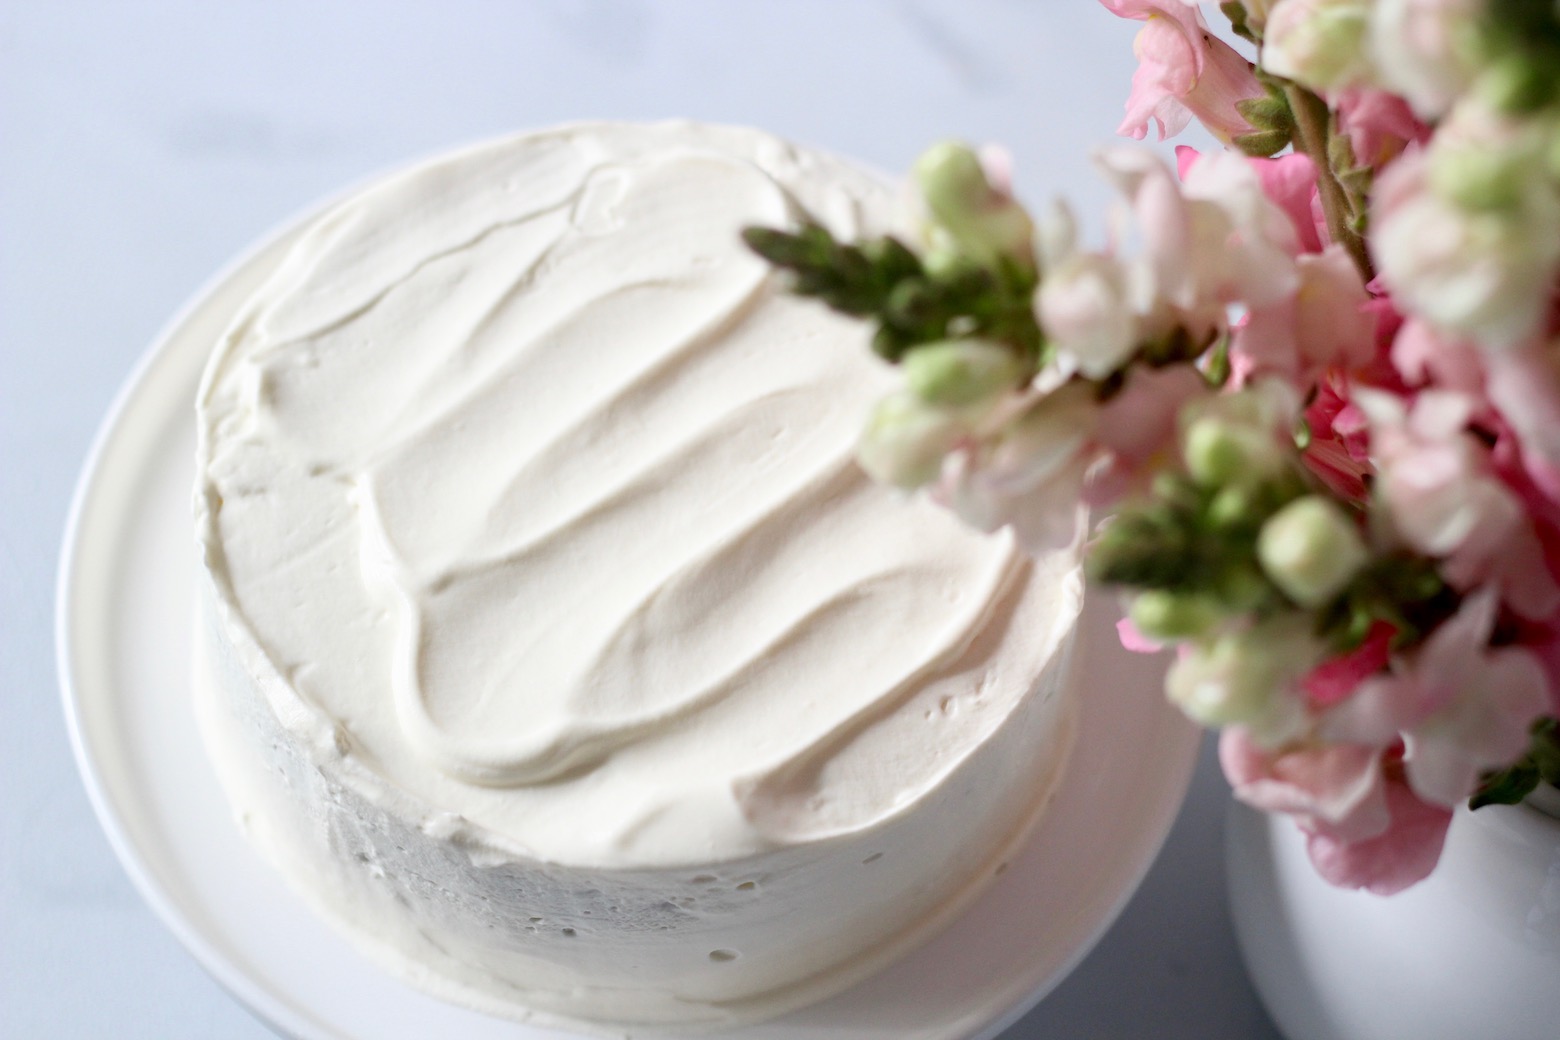
Every baker needs to have at least one butter cake recipe they can turn to unfailingly. Amirite? 😉Unfortunately the plethora of butter cake recipes on the internet are contaminated with fancy ingredients – and really, a staple butter cake recipe must only use staple ingredients! Amirite? 😉
How do I make a moist butter cake?
I totally understand. Most butter cakes become so dry the next day, no amount of cream or tea you’re chugging down will help. This is why a lot of recipes online call for buttermilk, sour cream, or even syrup (post-baking) to increase moisture content. But since there’s none of that in this recipe, it’s essential to achieve that tender, velvety crumb (as well as maximum moisture) from the ingredients that we do use. How so? Let me introduce you to the “Two-Stage Mixing Method”.
What is the Two-Stage Mixing Method?
The two stages in this method are:
- combining the fat with the dry ingredients in a bowl
- combining the eggs with the liquid ingredients in another bowl then incorporating the liquid mixture into the butter mixture in 3 batches.
To successfully bake with this method, ensure your ingredients are at cool room temperature and that you sift your dry ingredients. These two steps create a homogenous batter while controlling gluten production.
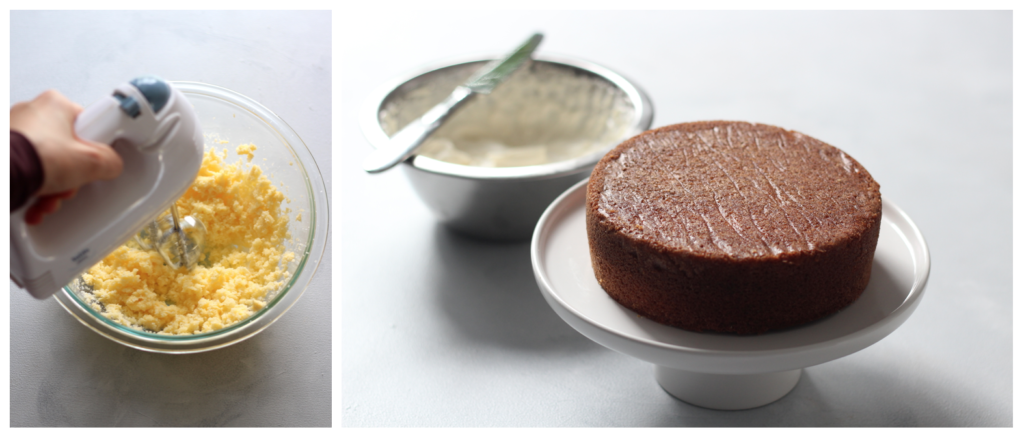
Gluten production is the primary difference between the two-stage mixing method and the creaming method. We often use recipes that require creaming butter and sugar together before adding the remaining ingredients. I’ve spoken about this method in my blueberry muffins recipe, and the results it yields. Combining the flour and fat first in the two-stage method inhibits the the flour’s ability to interact with the liquid ingredients. This is because the butter envelopes many of the flour particles. As a result of this, less gluten is formed and air bubbles are smaller. Both these factors result in an exceptionally tender cake, but also a cake which does not rise as high as cakes made with the creaming method. Basically, what you sacrifice in rise, you make up for in tenderness with a tighter crumb. And of course, a tighter crumb holds in moisture better after baking.
Now that you know all about the two-stage mixing method, let’s dig down on how to make this cake.
First, you combine milk, eggs, and vanilla in a bowl and set aside. In a separate bowl you beat butter and sifted dry ingredients with an electric mixer. The mixture will resemble wet sand. Next, the egg mixture is added into the butter/flour mixture in three goes, mixing with each addition until incorporated.
The batter is then poured into a prepared baking pan and baked at 350 F /180 C oven for about 25 minutes, until golden. While the cake cools, whip some thickened cream to decorate the cake with (or simply serve dolloped alongside a slice. That’s it!
How do I store the cake?
This cake keeps well stored in an airtight container for several days. If you choose to coat it in whipped cream, you must keep it in the fridge, otherwise at room temperate is perfectly fine. It can be tightly wrapped and frozen for up to three months. Simple defrost to room temperature before serving.
Vanilla Butter Cake
Ingredients
- 125 grams unsalted butter, softened
- ¾ cup (132g) plain flour
- ¾ cup (150g) granulated sugar
- ⅛ cup cornflour/cornstarch, (see notes below)
- ¼ cup milk
- 2 large eggs
- 1 tsp baking powder
- 1 tsp vanilla
- ¼ tsp salt
Whipped Cream Frosting
- 300 ml thickened cream (whipping cream)
- 3 tbsp icing sugar (powdered sugar)
- 1 tsp vanilla
Instructions
- Preheat oven 180 C / 350 F or 160 C /320 F fan forced.Butter and line the base of a 6 inch (15cm) cake pan with parchment paper.
- In a small bowl, add milk, eggs and vanilla and whisk to combine. Set aside.
- In a large bowl, sift together flour, cornstarch, sugar, salt, and baking powder. Using an electric mixer, begin to beat in half the butter on low speed.Add remaining butter and mix on medium speed for 10-15 seconds. The batter should appear like wet sand.
- Next add 1/3 of the egg mixture and beat on medium speed until incorporated. Repeat with remaining thirds until batter is fairly smooth.
- Pour into cake pan and bake on the middle rack for 25 minutes, or until golden and a skewer comes out clean but moist.Set aside on a cooling rack for 15 minutes before inverting.
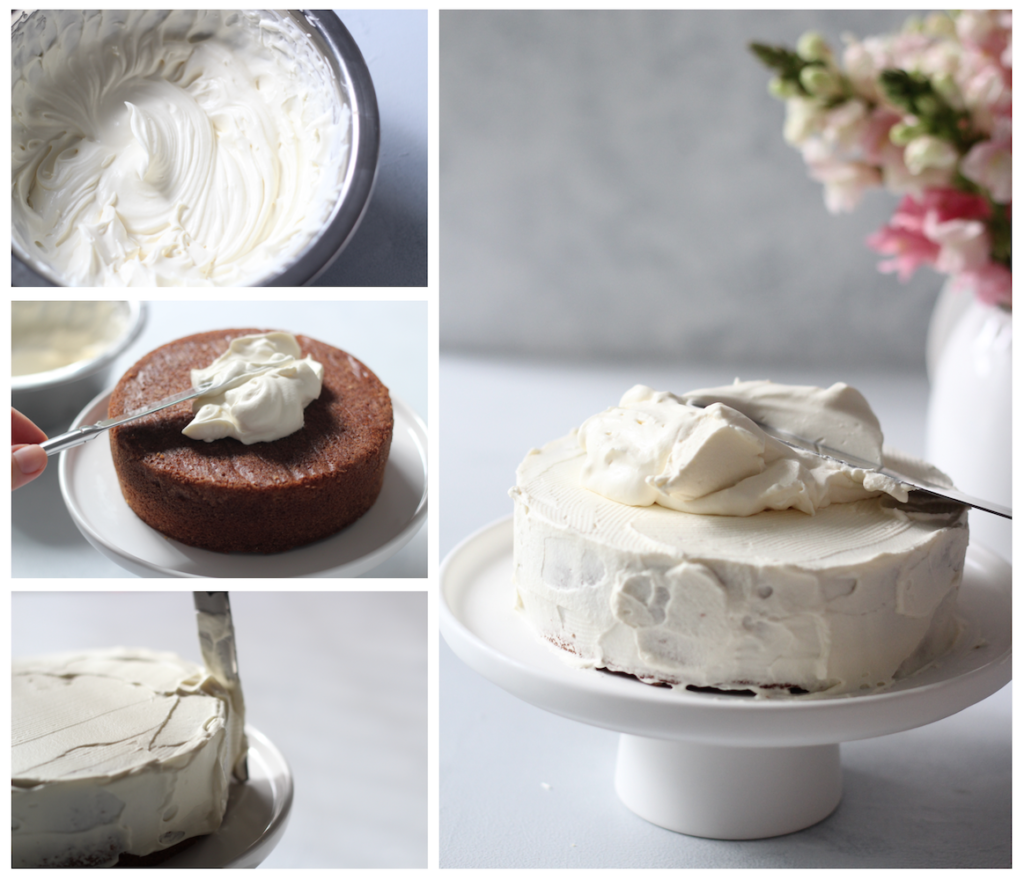
- Meanwhile, using clean beaters, whip the frosting ingredients until stiff peaks form. Be careful not to over whip as this will cause your cream to split/curdle.Cover the whipped cream and refrigerate until the cake has completely cooled.
- Cover sides and top of cake with half the whipped cream to lock in crumbs (crumb coat). Do not attempt this when the cake is still warm as your cream will melt off immediately. Refrigerate for 15 minutes. Also refrigerate remaining whipped cream. Once chilled, cover with remaining cream, smoothing sides and swirling the top, if desired.Top with flowers, berries, or seasonal fruits.
Notes
Doubling the frosting ingredients will be enough to fill between the layers as well. 2 - This cake keeps for several days, stored in an air tight container in the fridge. Bring a slice to room temperature before serving. It may be kept out of the fridge in an air tight container if you choose not to frost it with the whipping cream. 3 - The addition of cornflour is to replace the need for cake flour as it is not a pantry staple in most households. I cannot guarantee a velvety texture if you choose to skip the cornflour, but should you do this, replace it with more plain flour.
Tried it? Let me know if you liked it!
Go on and rate the recipe in the comments below. And don’t forget to tag your creations on Instagram with @tilgoldenbrown #tilgoldenbrown so I can feature them! 
I tried this cake today, and it is truly exceptional! Way better than store-bought or box mix 😂
Thank you! Great recipe 😊